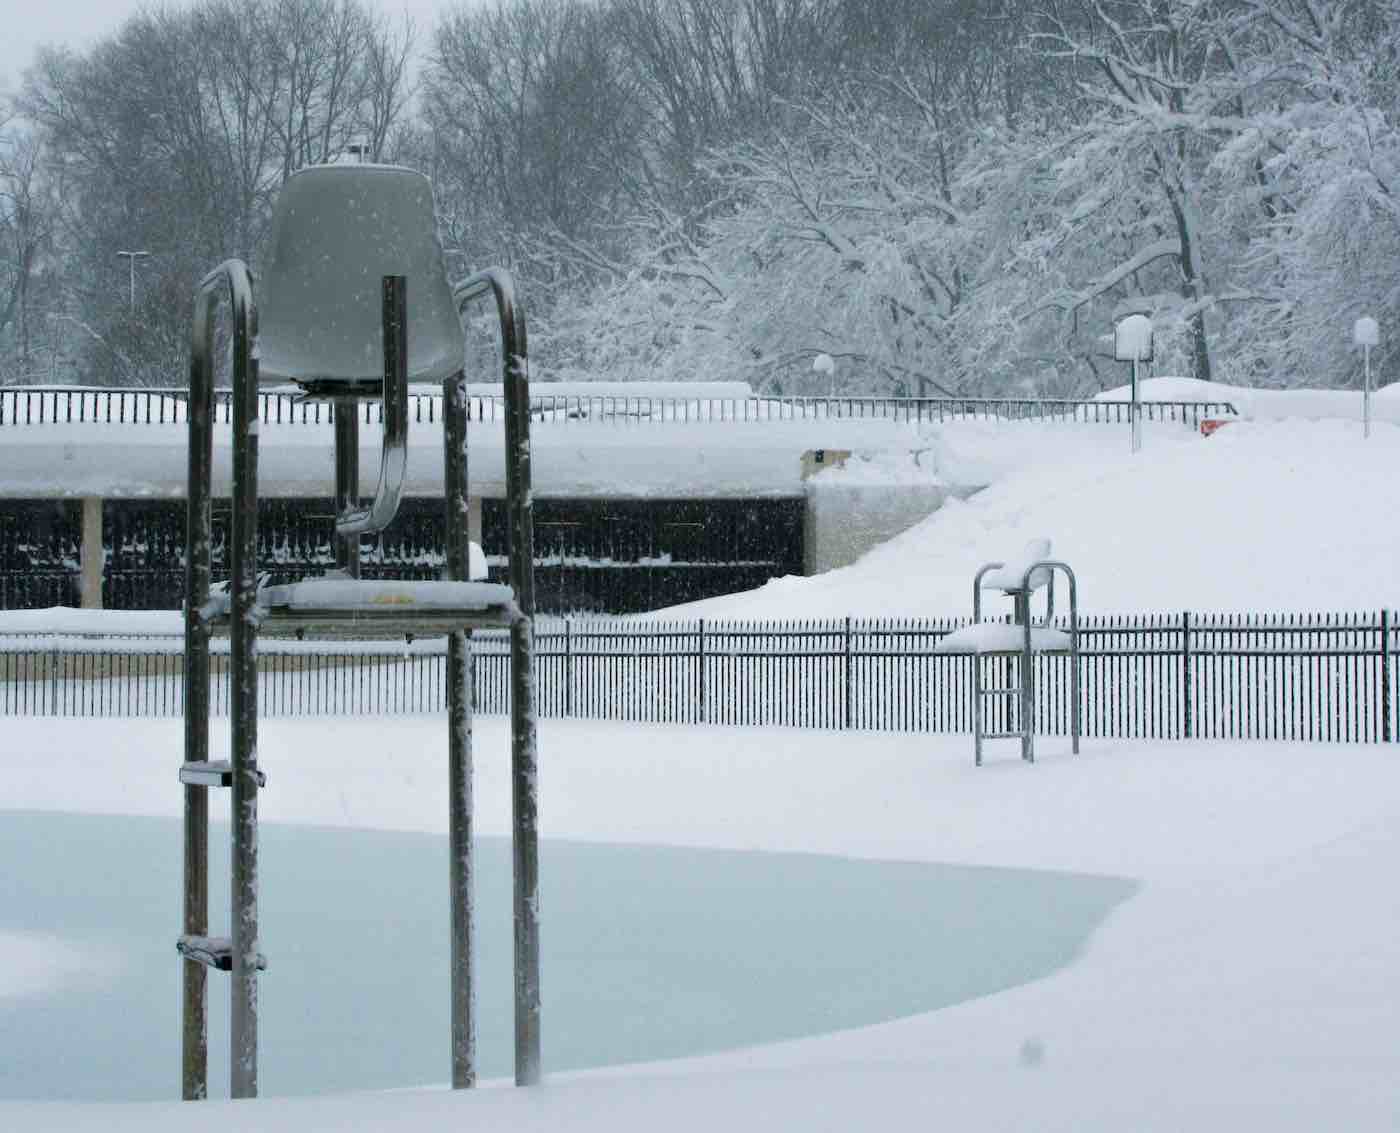
Summer is over. The kids have had their fun in the sun. Fall’s almost around the corner, and the snow is due in months. Leaves are poised to overwhelm your soon-to-be stagnant pool water.
An important part of home care is taking care of your swimming pool and making sure it’s ready to see colder days. Before you say goodbye to your ground pool, it’s best to prepare it for the climate to come.
Let’s go over the steps to take when closing your pool for the winter, what materials and supplies you need, and how to make sure it’s ready for you to cannonball into next summer.
Why You Need to Close Your Pool in Winter-Time
It’s no great secret that the winter months get cold. But when you have a body of water that can turn into a frozen lake in your backyard, that’s something to prevent before things go wrong.
If you live where snowing can turn into harsh winters and water freezes when left unattended, you will need to clean, winterize and close your pool before the expanding ice ruins it forever.
If you follow these steps for preparing your pool, you can prevent freeze damage and avoid needing to run a skimmer basket over the extra-cold water in the off-season.
But first, let’s go through some of the essential tools you will need in your endeavor.
Tools You Will Need to Close Your Swimming Pool
Here are the most important tools and materials you will need to close your swimming pool quickly before temperatures drop, making it difficult or nearly impossible to close the pool after:
- Pool Skimmer, Baskets and Pool Brushes
- pH Increaser + Decreaser
- Water Testing Kit
- Pool Shock
- Algaecide
- Pool Antifreeze
- Air Compressor
- Socket Wrenches and Drills
- Pool Sanitizer (Chlorine, Bromine or Salt)
- Pool Liner (optional, also read our article about the 10 different ways to remove liner wrinkles )
- Pool Vacuum with Pole
Any other materials you may need will be elaborated on during their respective step.
It’s important to have these materials ready before you decide to close down to make the process go smoothly and easily.
Closing Pool for Winter: Tips and Tricks for Your Above Ground Pool
Now that swim season is done, it’s time to pack in your pool. Although you could hire maintenance people to do it for you, the entire process isn’t as difficult as you’d think.
Devote a few afternoons to making this process happen. Go through the closing process step by step.
Take care of your pool, and it will take care of you and your children for many more winters to come.
The Most Crucial Steps to Closing Your Pool
Step 1
- Add Winterizing Chemicals and Additives the Week Before closing
Step 2
- Deep Clean Your Pool
Step 3
- Lower Water Level and Backwash Filtering System
1. Add Winterizing Chemicals and Additives the Week Before
The entire process begins a week before you start the closing process. You will need to apply a phosphate remover to prevent and cancel algae growth, as algae will ruin your pool.
Applying these chemicals will also keep your pool clean and clear throughout the winter. Chemicals like those for staining and scaling prevent mineral and metal build-up in the water.
If you don’t feel confident with all this experimenting, measuring, testing and mixing and matching chemicals, you can invest in a winter closing kit with everything you need to give you the pool you want.
These kits include pH increasers, Alkaline increasers, calcium hardness increasers and algaecide, everything you need to keep your pool clean and balanced throughout the winter.
Apply the chemicals as per the instructions and reap the results. Once you’ve cleaned your pool and are getting ready to close up, you will need to check your chemical levels again.
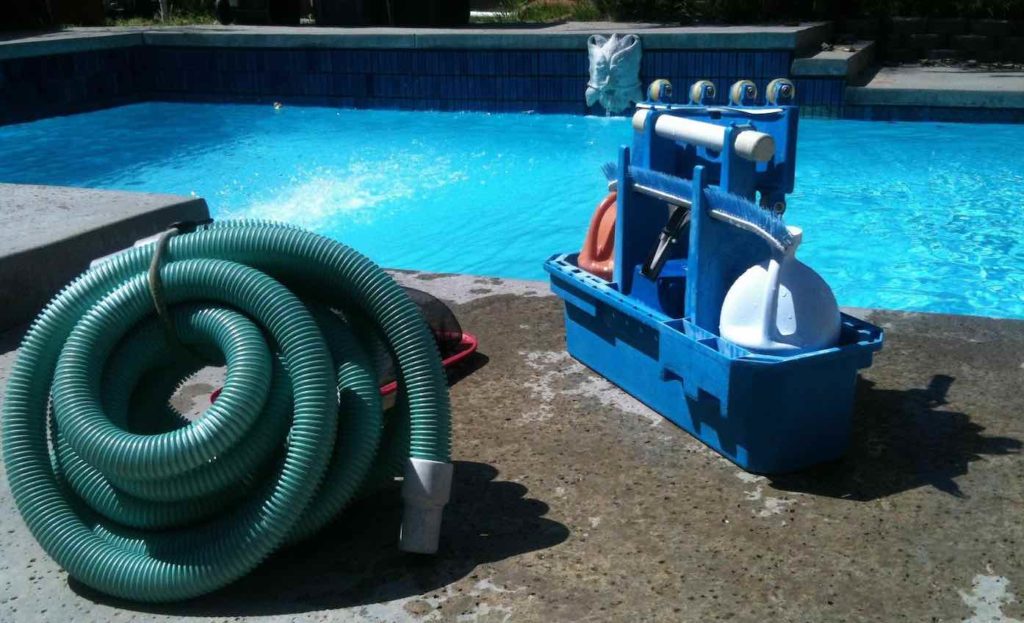
2. Deep Clean Your Above Ground Pool
Before anything else, it’s important to note that you cannot seal up a dirty pool and expect to have an easy time cleaning it before summer rolls around.
You’ll breed insects, diseases, and algae and ruin your pool walls forever.
Once the off-season hits, it’s time to pull out the skimmer baskets and remove any leaves, debris, muck and scum from your pool water.
Vacuum, brush and scrub every nook, cranny and crevice of your above-ground pool. Make sure to clean it on the inside and outside.
Run a skimmer over the surface of your pool to get rid of any debris like insects and leaves.
Scrub any grime on the tiles and brush your walls and floors. It should be pristine before you move forward. Replace the broken tiles if you need to.
Cleaning the interior of your pool will prevent bacteria and algae from growing, ruining your pool and family’s health. It also prevents clogging and makes preparations for summer that much easier.
Having a clean pool makes a huge difference in getting your pool area ready for the cold. You’ll thank your old self when you pull back the pool cover to see a barely-changed pool.
3. Balance Your Water Chemistry
With this step, you’re about to go from pool service technician to seasoned chemist. You will need to check your pool chemistry again, ensuring the right water balance before the off-season.
You will need balanced water to prevent damage to the pool walls and floor.
This water chemistry phase involves testing out the pH level of your pool, calcium hardness level and even its alkalinity using a test kit or taking a sample to your local pool supplies store.
Don’t worry if you weren’t the most chemistry-inclined in school. Collect your samples as instructed and determine your chemical levels.
Your pool’s pH level should be between 7.2 and 7.6 PPM (Parts Per Million), while the total alkalinity should be between 80 and 120 PPM. Calcium hardness should be between 180 and 220 PPM.
You will need to use the sanitizers (chlorine, bromine and salt) to change the chemical levels. Apply slowly and test as needed until they reach the higher ends of these ideal levels.
This important step will require trial and error unless you’re an experienced pool cleaner.
These levels will decrease over time, meaning that your pool will sink into the middle of these levels.
With your pool reaching the right chemical levels, it’s time to fight against any remaining bacteria.
4. Shock and Chlorinate Your Pool Water
Just because your water is clear doesn’t mean it’s clean. Not yet, at least. You will need to introduce pool shock or super chlorinating powder to boost your sanitizer and kill lingering bacteria.
It is best to do this a few days or even the night before you close up to give the powder time to activate. This will prevent algae growth, bacterial growth and any other carrier of diseases and disgust.
You will need to run the pool filter as you are shocking it to help purify the water. Your shock should be at least 65% sodium hypochlorite. Follow the directions on the packaging for the best results.
A 1-pound bag should be enough to shock 10,000 gallons of your water. Dilute your mixture in water and pour it in. Upon testing, you should have a 1 to 3 PPM chlorine level.
After that, you can now add your algaecide to leave nothing to chance. You will eliminate the chances for bacteria and algae growth and ensure clean water for months to come.
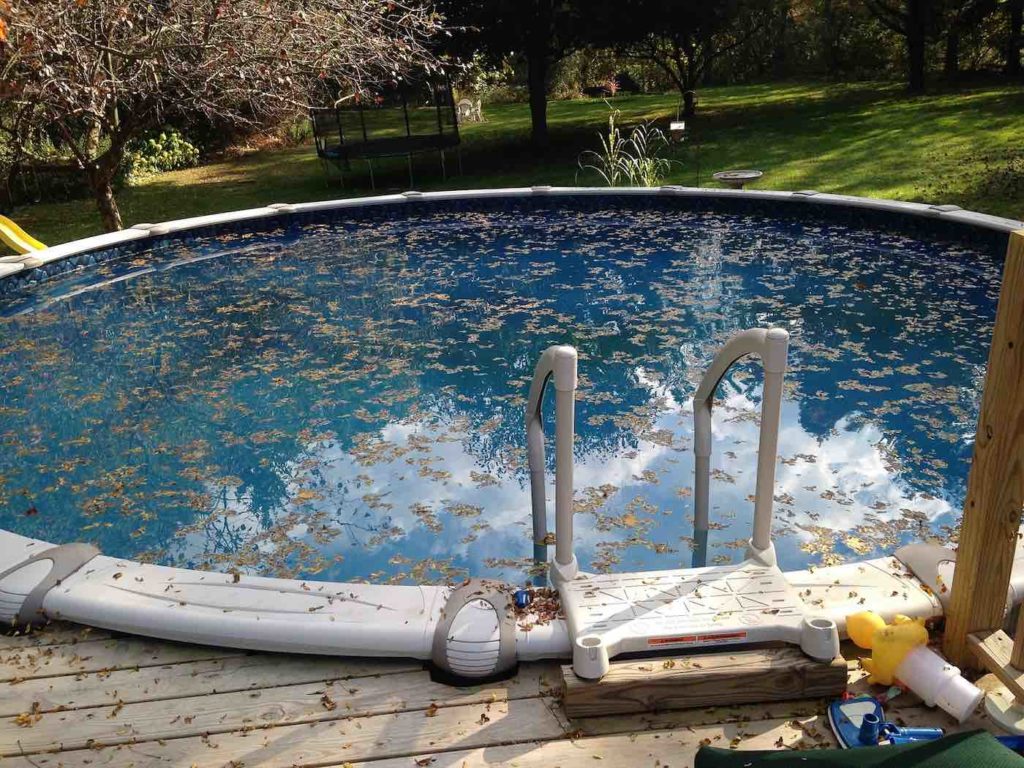
5. Lower Your Water
Having saturated your pool water with the right balancing chemicals will allow you to drain any excess water to prevent the top of your pool from freeing solid under your pool safety cover.
This phase is most important if you know that cold can get cold in your area. You can skip it if you know snow doesn’t get out of hand in your region.
That being said, let’s assume that water would freeze if left uncovered. Access your main drain and let out as much water as possible based on your cover. Empty your water lines by opening their drain plugs.
While this step is more important in inground pools, draining your pumps, filters, pipes and lines will save you a world of heartache and financial trouble if you need to have them repaired.
If you need to pull the main drain, ensure that your water level is 12 to 18 inches lower than the skimmer if you use a mesh pool cover. Lower the water to 3-6 inches below solid covers when using a pool above ground.
This step isn’t as necessary on pools above the ground as those in the ground. Disconnect and dry your water lines, and that should be enough.
6. Protect Your Return and Skimmer Opening
Now that you’ve sorted your water level, you will need to protect your return jets and your skimmer from the elements. You can protect your skimmer by pulling it out and keeping it dry for the winter.
If you’re feeling brave and decide not to cover your skimmer and pump basket, you will need to observe it throughout the period and make sure it can drain out if needed by keeping the bottom free.
You could also keep it in place and protect it with a skimmer cover plate to keep the elements out. You will not have to drain your pool to get it below the skimmer line if you do this.
Whatever happens, you must ensure that water does not freeze inside your skimmer, as this will cause it to crack and ruin your ability to filter junk away.
As for your pool returns, you will need to plug them to prevent water from freezing inside. Invest in a good drain plug for each hole in your pool, and you shouldn’t have to worry about your return lines until the spring.
Protect your pool equipment in the off-season to ensure that you have a pool to return to when the snow melts and the summer heat starts calling you to hop in.
7. Backwash Your Filter System
Part of ensuring that your pool will run smoothly is running the pool pump for a full cycle before backwashing your filter and clearing your filter grids chemically.
Running your filter element will allow it to filter out germs and bacteria. It will also keep algae from overrunning it and preventing it from doing what it was designed to do.
If your filter is removable, take it out and clean it. If it’s not, connect your filter to a backwash hose, taking any gunk remaining away from the filter.
You will be able to backwash your filter system by first deactivating it. Once it’s off, you can then choose the valve setting that leads it to the backwash or “drain to waste.” The backwash hose will take that waste to a receptacle.
Run your filter for 3-5 minutes to remove any remaining debris from the filter. Then, turn your valve to the rinse setting for 30 seconds before calling it mission accomplished.
8. Clear the Pool and Drain Your Pool Lines
You’re almost there. The pool is almost ready for snowfall. The next step involves removing or dismantling your pool accessories like your ladders and preparing them for winter storage.
You wouldn’t want your pool to be perfectly ready for summer to grip onto a slippery or brittle accessory. This step also ensures that the pool cover fits perfectly and is unobstructed.
You’ll need to double-check your lines with that out of the way. You must ensure that your pump, filter and heater are properly drained before leaving them.
It is best to blow air through these components and lines with an air compressor to prevent any obstructions that can stop water from moving and cause it to freeze inside.
Once the plumbing has all been drained, you can choose to add pool antifreeze to give your systems even better protection from the elements.
When done properly, your pool is squeaky-clean.
Your water has the right chemical makeup to prevent nasty growth. Your pool’s water level won’t let it freeze near the cover, and all of your components are free of fluids and debris.
9. Set Up Ice Equalizer Pool Pillow
With all that out of the way, it’s time to go to a step specific to pools found above ground: use an air pump and inflate your air pillow. It should go in the middle of the pool. Make sure to anchor it to the pool.
It’s important to use an air pillow as this is designed to protect your pool cover and the walls of your pool from excess cold and snow pressure on top of your cover.
That’s also why it’s called an ice compensator. It compensates for the amount of snowfall falling on top of the cover, counteracting it and keeping your cover stable and working as it should.
Without a pool pillow, your cover may develop a layer of ice and snow that can cause it to drop down from the weight. Be sure to inflate your pillow up to 60% of its capacity to allow it to compress without popping.
Your ice pillow should go to the center of your pool. You can use a rope to tether it to either side of your pool. It’s an essential protection tool, especially in colder areas.
10. Set Up Your Winter Pool Cover and Pool Pump Protector
You’ve done the prep work, balancing your water and cleaning it with chemicals.
You’ve scrubbed the inside and outside of your pool and have prepared it for the freezing temperatures on the horizon.
It’s finally time to say “see you later” to your above-ground pools. With everything else out of the way, you can now prepare to finally close your outdoor pool.
This involves adding a protector for your pump and a winter cover for your actual pool.
It is best to make sure that your pump has a safety cover, as this will allow you to run water in and out of your pool when it’s time to swim again.
With everything else sealed up, you can now add your winter cover. Winter covers come in all shapes, sizes and materials, so you must find the one best suited for your pool.
The ideal winter cover for above-ground pools protects it from snow, doesn’t fly off or collapse no matter how heavy the snow gets, and protects the integrity of your pool for the entire winter.
You can add cables and winches to produce a more solid cover to keep it firmly in position.
Don’t try to improvise a weight. You’ve sunken too much time and money on this. Don’t skimp on your pool now.
Differences When Closing an Above Ground Pool and an Inground Pool
And with that, your pool is ready. After adding your winter cover, you’re done. While you can leave it alone, for the most part, you will need to monitor your pool’s composition Every Month.
While the process is similar for the most part in above-ground and in-ground pools, there are some differences you will need to consider depending on which kind you own and maintain.
An above-ground pool is arguably easier to maintain since it tends to be smaller and gives you better access to its components.
You will need to lower the water levels and drain your components using a below-ground pool. This step isn’t as necessary in external pools.
You will benefit from using an air pillow to keep your above-ground winter pool cover stable. That won’t work for a longer, deeper in-ground swimming area.
FAQ/Q&A – Closing Your Pool for Winter
Should you fail to close your wet zone before the snow comes in, you will be exposing it to algae and bacterial invasions, which will ruin the blue of your water. The cold weather will also freeze the water, ruining the chemical balance once that ice turns into the water.
Yes. Failing to clean it before closing means that the water is unbalanced and untreated. This will allow bacteria and algae to ruin the beautiful blue of your water. It will also make it more difficult and costly to clean it in Spring.
The best thing to do is clean it well, lower water below the tile line, and apply solid winter covers to keep any debris and bacteria from falling in or growing inside.
It would be best to reopen when temperatures in your area reach about 70 degrees Fahrenheit on a consistent, daily basis during the daytime. This will prevent algae, pollen and greening from negatively impacting your pool.
Conclusion

Those were the important steps to take when closing your pool for the winter. Before closing, it all boils down to preparing the interior, water, pumps and filters, and pool environment.
Securing your above-ground pool will save you time, effort and money reviving it the next spring and keep it protected no matter the season.
Going through the closing process carefully and completely will also allow you to maintain your above-grounder, letting it last longer and giving you a more quality swimming experience the next time summer rolls around.